
A post in MX is one update, event or offer that goes to the Google Business Profile of every location you choose. You write it once, and it publishes after someone approves it in Approvals. Owners, Admins and Editors write posts; every member can read them in Posts.
Posts made here publish as soon as they are approved. To publish at a set time, schedule the post from Content Plan instead: see Schedule a post for a later time.
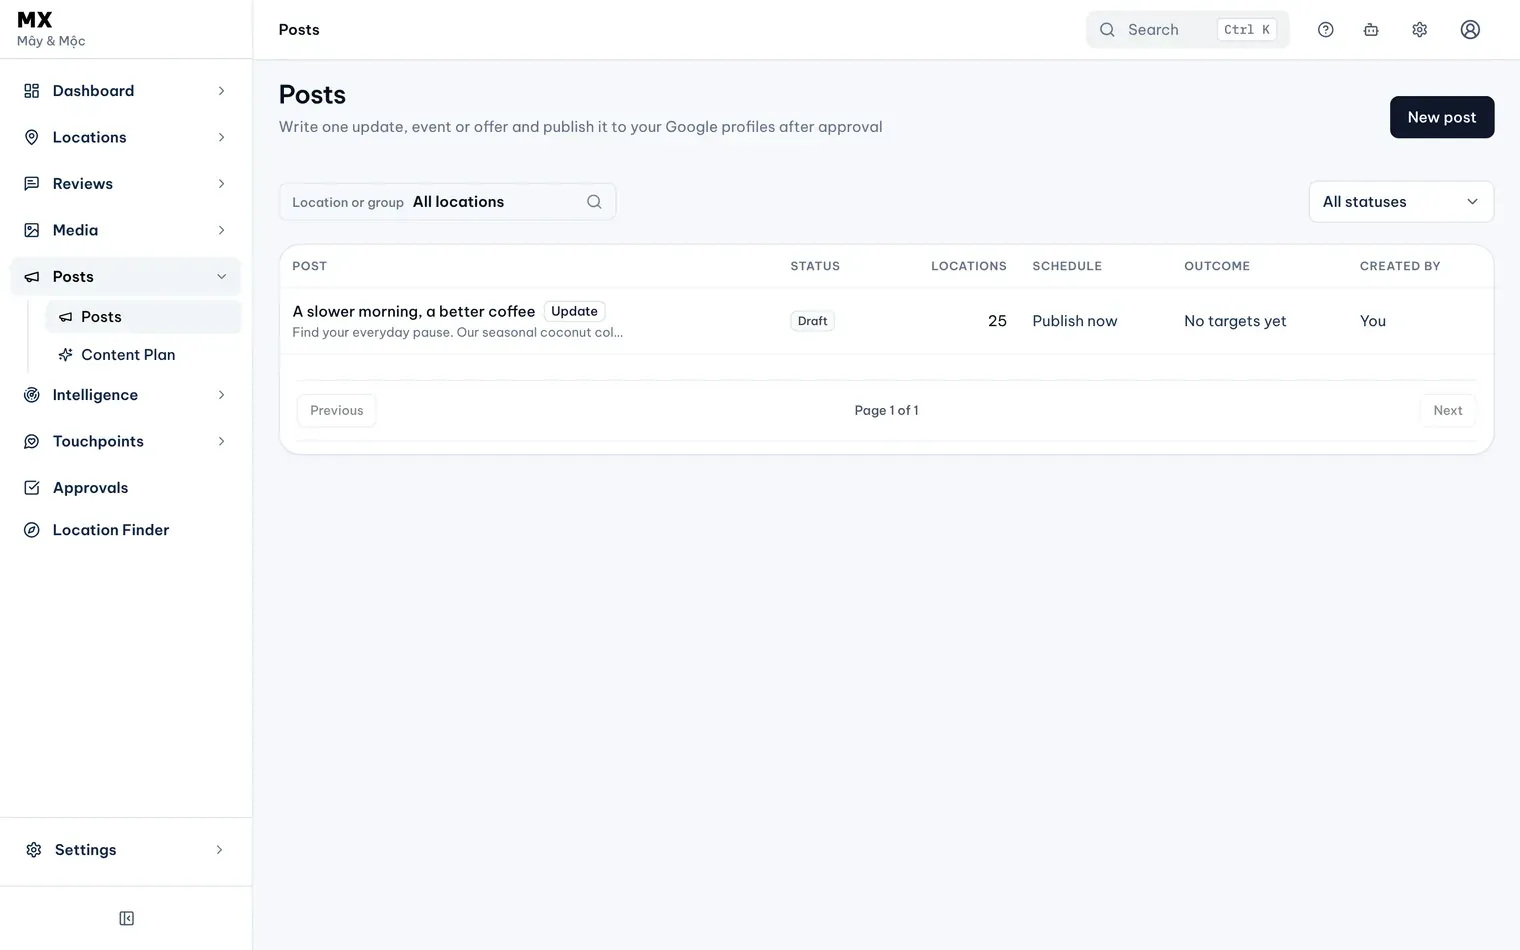
Write the post
-
Open Posts and select New post.
-
Choose the Post type:
- Update: news about your business.
- Event: add an Event title and when it Starts and Ends.
- Offer: add an Offer title, the offer dates and, if you have them, a Coupon code, a Redeem link and Terms.
-
Write the Text, up to 1,500 characters. The counter under the field shows how many you have used.
-
For an update or an event, pick a Button if you want one. Book, Order online, Buy, Learn more and Sign up need a Button link that starts with https://; Call now dials each location’s own phone number. Offers have no button: the coupon code and redeem link take its place.
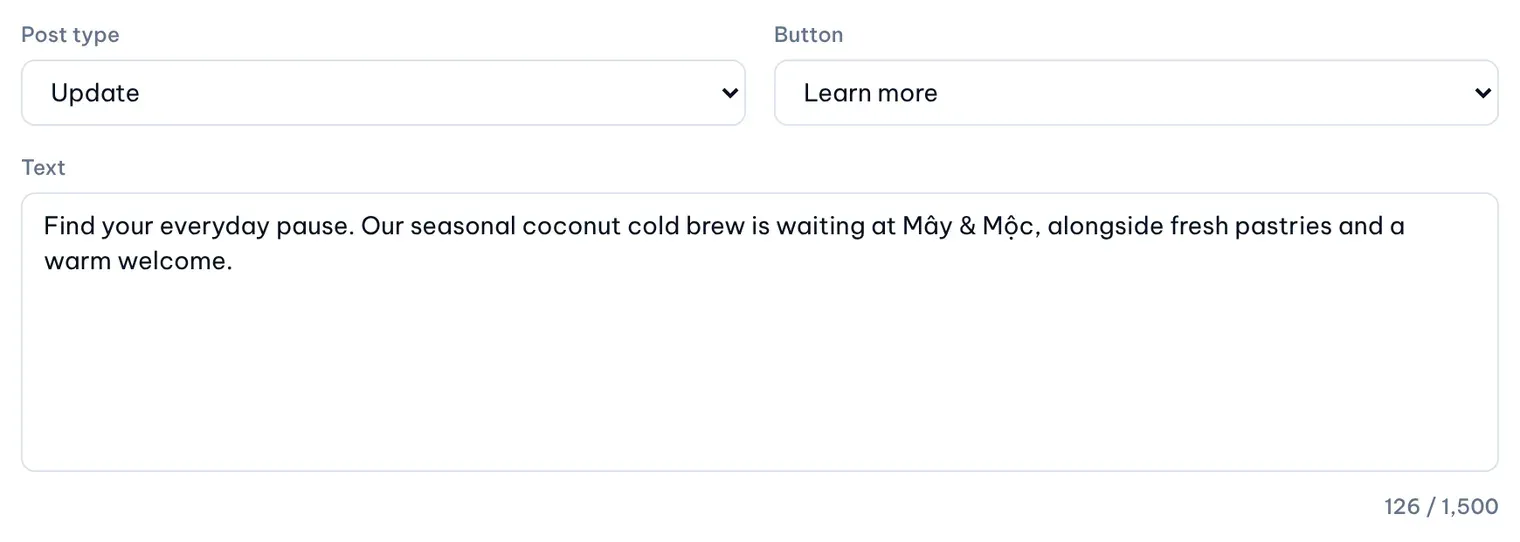
1: Post type. 2: ButtonIllustrative data
Add a photo or video
- Under Media, select Choose from library (or Change media to replace the current one).
- In Choose media, select Choose on one photo or video. A post carries one item.
Updates and events need a photo or video. For an offer, media is optional and must be a photo. Photos flagged by the AI policy check are hidden until you turn on Show flagged, and can be attached only after someone allows them. To add new files, upload them to the library first: see Upload and organize your media.
Choose where it goes
Under Locations, choose one of two ways:
- Choose locations: tick the locations in the list.
- Use a group: pick one group. The post goes to the locations in the group at the moment you send it to Approvals.
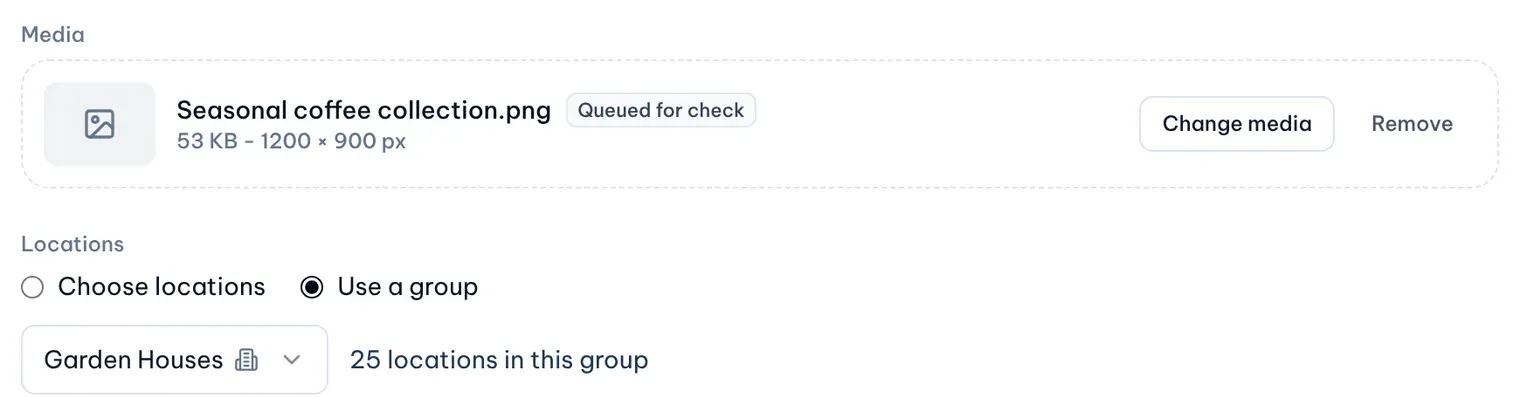
If a chosen location already has a Content Plan post today, a note names it. You can still send the post.
Let AI draft the text
Once the draft has saved, select Draft with AI under the text field (Draft or rewrite with AI once there is text). Describe what the post should say in What should the post say?, then select Draft. When there is text already, you can select Rewrite or Draft new text instead. The control shows how many AI drafts you have left this month.
MX adds the text to the post for you to check and edit; Undo puts back what you had. If AI suggests a different post type, you can switch with one click. Nothing is sent until you send the post yourself.
Save the draft
MX saves the draft a few seconds after you stop typing; Save draft saves it at once. The status next to the buttons reads Saved, Unsaved changes or Not saved. Drafts stay in Posts with the status Draft, where you or another writer can finish them later.