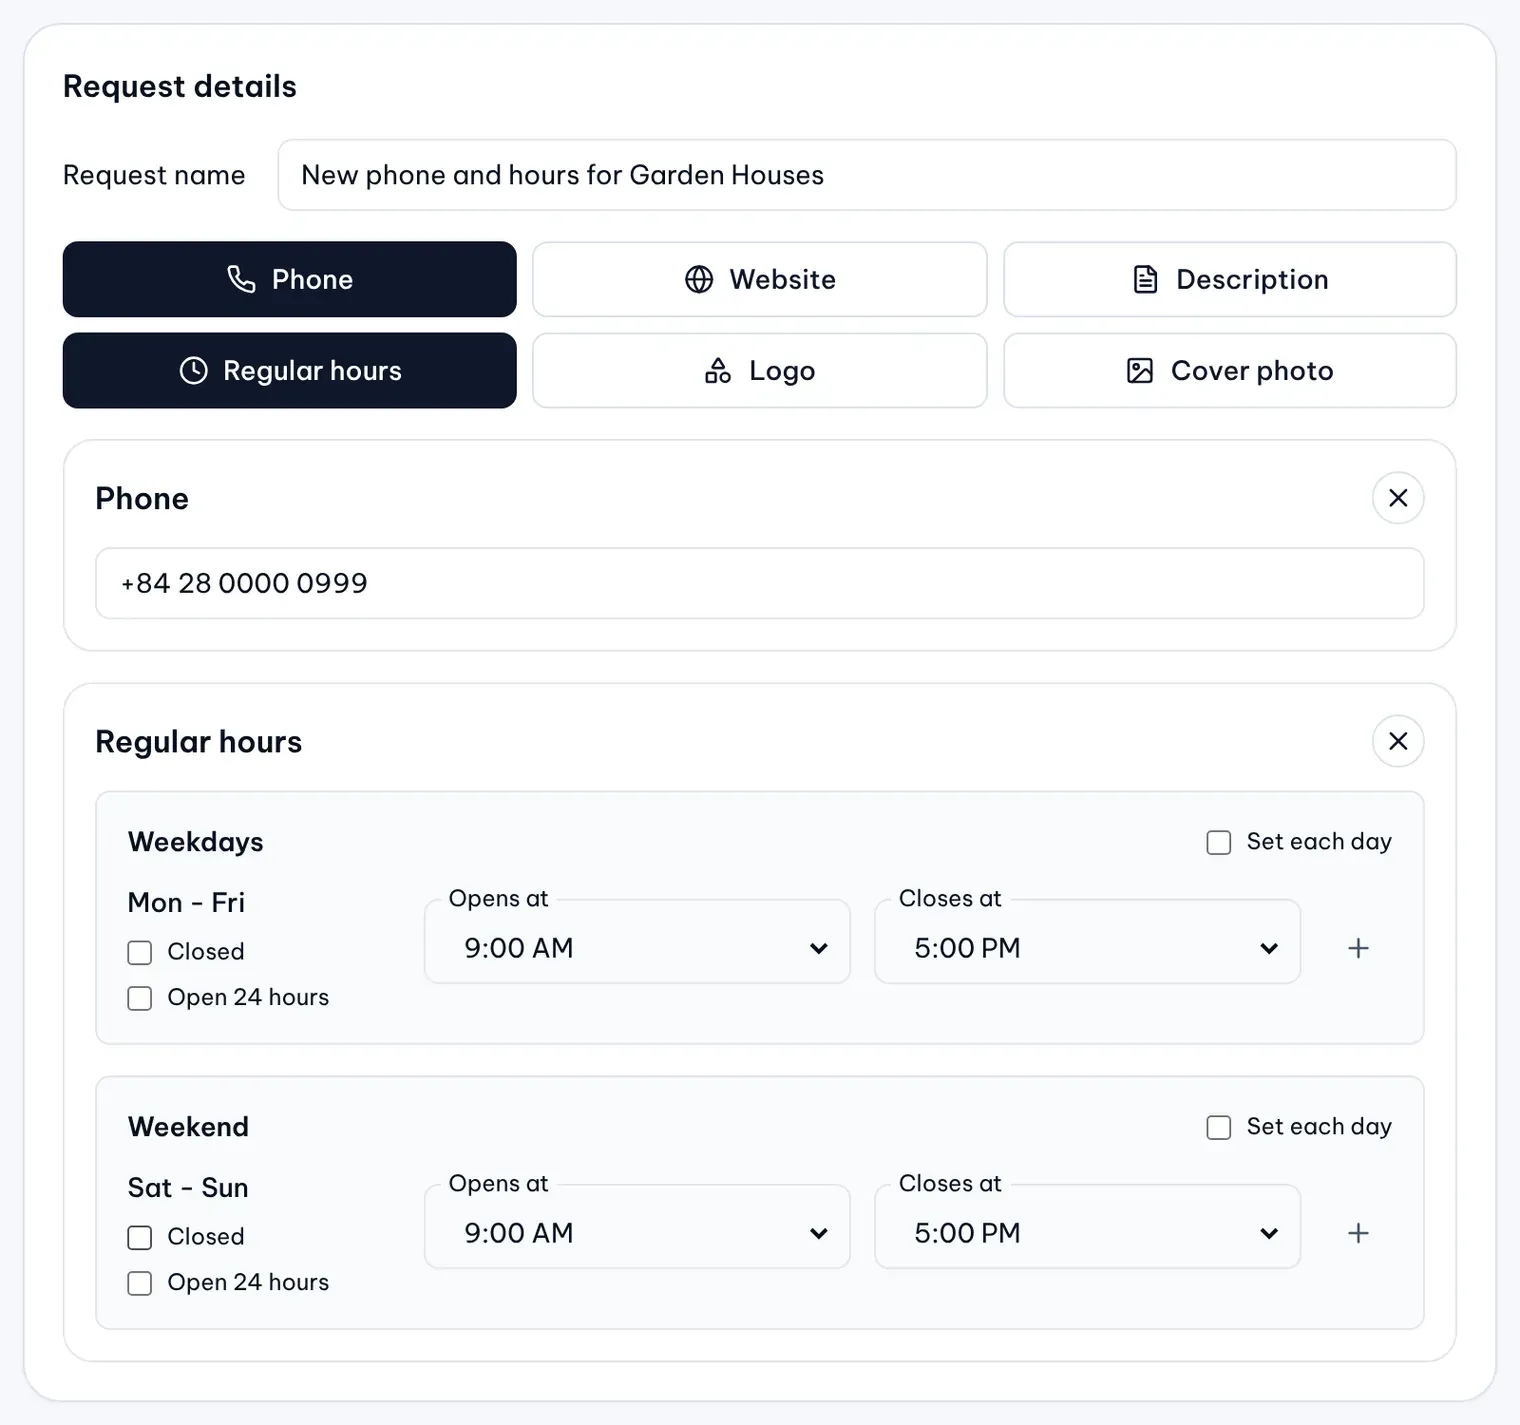
A Bulk Update request gives many locations the same value for up to six things: Phone, Website, Description, Regular hours, Logo and Cover photo. You build it in three steps, Requests, Locations and Execute & report, and MX saves your draft as you go. Bulk Update needs a wide screen: on a phone it asks you to use a larger one.
Start a request
- Open Locations → Bulk Update and select New request.
- Enter a Request name, so you and your approvers can find it later.
- Select the fields to change. Each one opens a card for its value; the round button on a card removes that field from the request.
- Phone: 6 to 15 digits, with an optional leading +.
- Website: a full address that starts with https://.
- Description: up to 750 characters, with no website links.
- Regular hours: set Opens at and Closes at in 30-minute steps for Weekdays and Weekend, or choose Set each day. Each row (Weekdays, Weekend or a single day) can be Open 24 hours, Closed or have more than one opening period. A closing time after midnight reads “(next day)”. The hours replace the whole weekly schedule.
- Logo and Cover photo: select Choose image and pick a photo from Brand Assets.
- Select Next to go to Locations.
Choose the locations
- Search by name or address, or pick a group, to narrow the list.
- Tick the locations to update. Click anywhere on a row to tick it, or hold Shift to tick a range.
- Select all on this page ticks the current page only.
- Select all matching adds every location that matches your search, group and update history filter to your selection.
- Show selected lists only the ticked locations.
- To find locations by when MX last updated them, sort by Oldest update first or Newest update first, or filter Update history by date. Each row shows “Last updated” with a date, or “No update history”.
- Select Next to review and send the request.
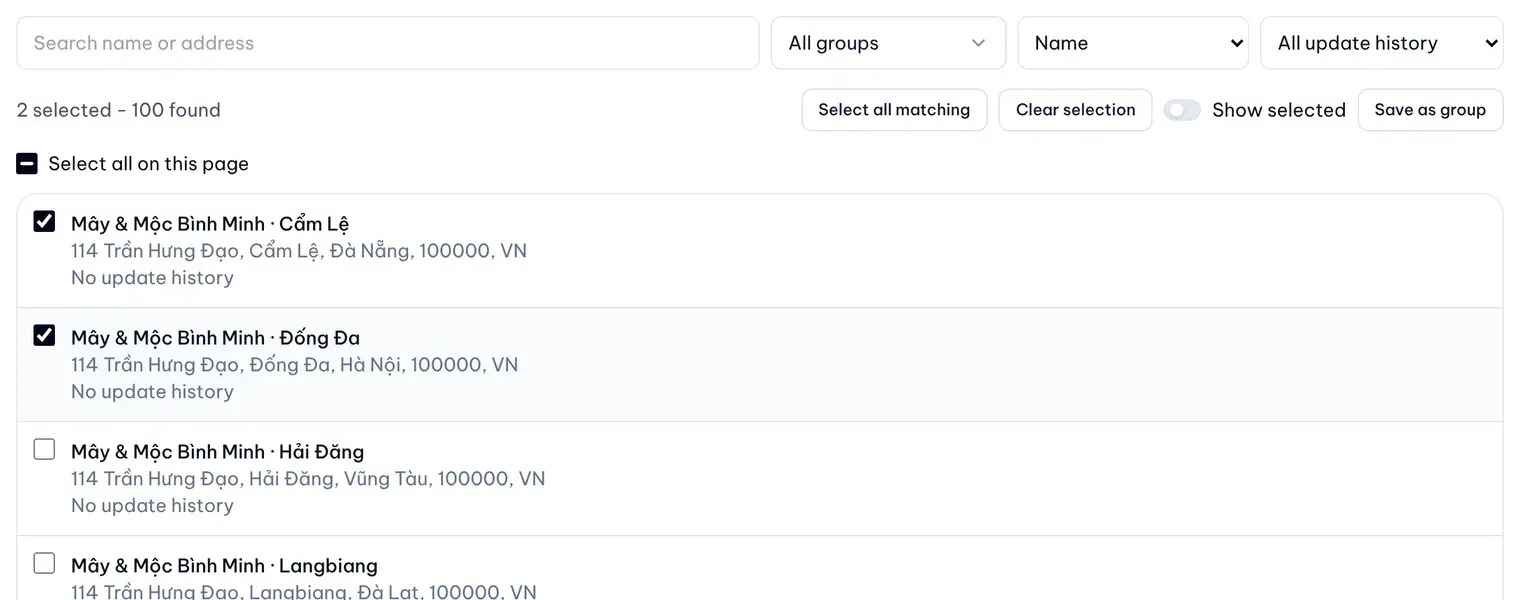
The count above the list shows how many you selected and how many match. Save as group keeps the ticked locations as a private group for next time.
Save and reopen a draft
MX saves the draft a few seconds after you stop typing. The status above the steps reads “Autosaving…” and then “Saved”. You can leave and reopen the request from the Requests list; drafts stay editable until you send them.
Start a request from another page
- On Locations → All Locations, tick locations and select Update in bulk, or use Update in bulk in a row’s menu. A link carries up to 200 locations; for more, pick a group in Bulk Update.
- In Media → Brand Assets, pick a logo or cover photo and select Create Bulk Update request. The new request opens with the image already chosen.
- Links on the Dashboard open a request with the affected locations already ticked.