
GuideLocation Finder
Location Finder - a store locator for your website, filled from MX
Design a store locator for your own website, fill it from your locations in MX, and embed it with a short piece of code. No list to keep in sync
Table of contents
The problem
Customers often start on your own website when they want the nearest branch, its hours or its phone number. For a business with many locations, the “Our stores” page is hard to keep right. A branch opens, another closes, a phone number changes, and the website still shows last year’s list. A customer who follows it drives to a closed shop or calls a number nobody answers.
Doing it by hand
The usual fix is a static list or a map someone built once: a table of addresses on a page, or a handful of pins added by hand. Every change means asking whoever runs the website to edit it, and the list drifts away from the details on your Google profiles. A proper store locator with search and a map often means a separate tool with its own copy of your locations, so you now keep the same information in two places.
What changes with Location Finder
Location Finder is a store locator you place on your own website. MX fills it from the locations you already manage, so you only decide how it looks. Visitors search your locations, see them on a Google map and in a list, and call, open the website or get directions to the one they pick. When a location is paused or removed in MX, it drops out of the finder.
What you get
- One source for your locations. The finder lists your active locations in MX with the details from their profiles. Keeping those profiles accurate keeps the finder accurate (Google’s guide to editing your Business Profile covers the profile side).
- A locator that fits your brand. Choose the layout, colors, markers, font and corners, and check them in a live preview before anything goes live.
- Easy to install. Your web team pastes one short piece of code. They don’t need an MX account.
How it works in MX
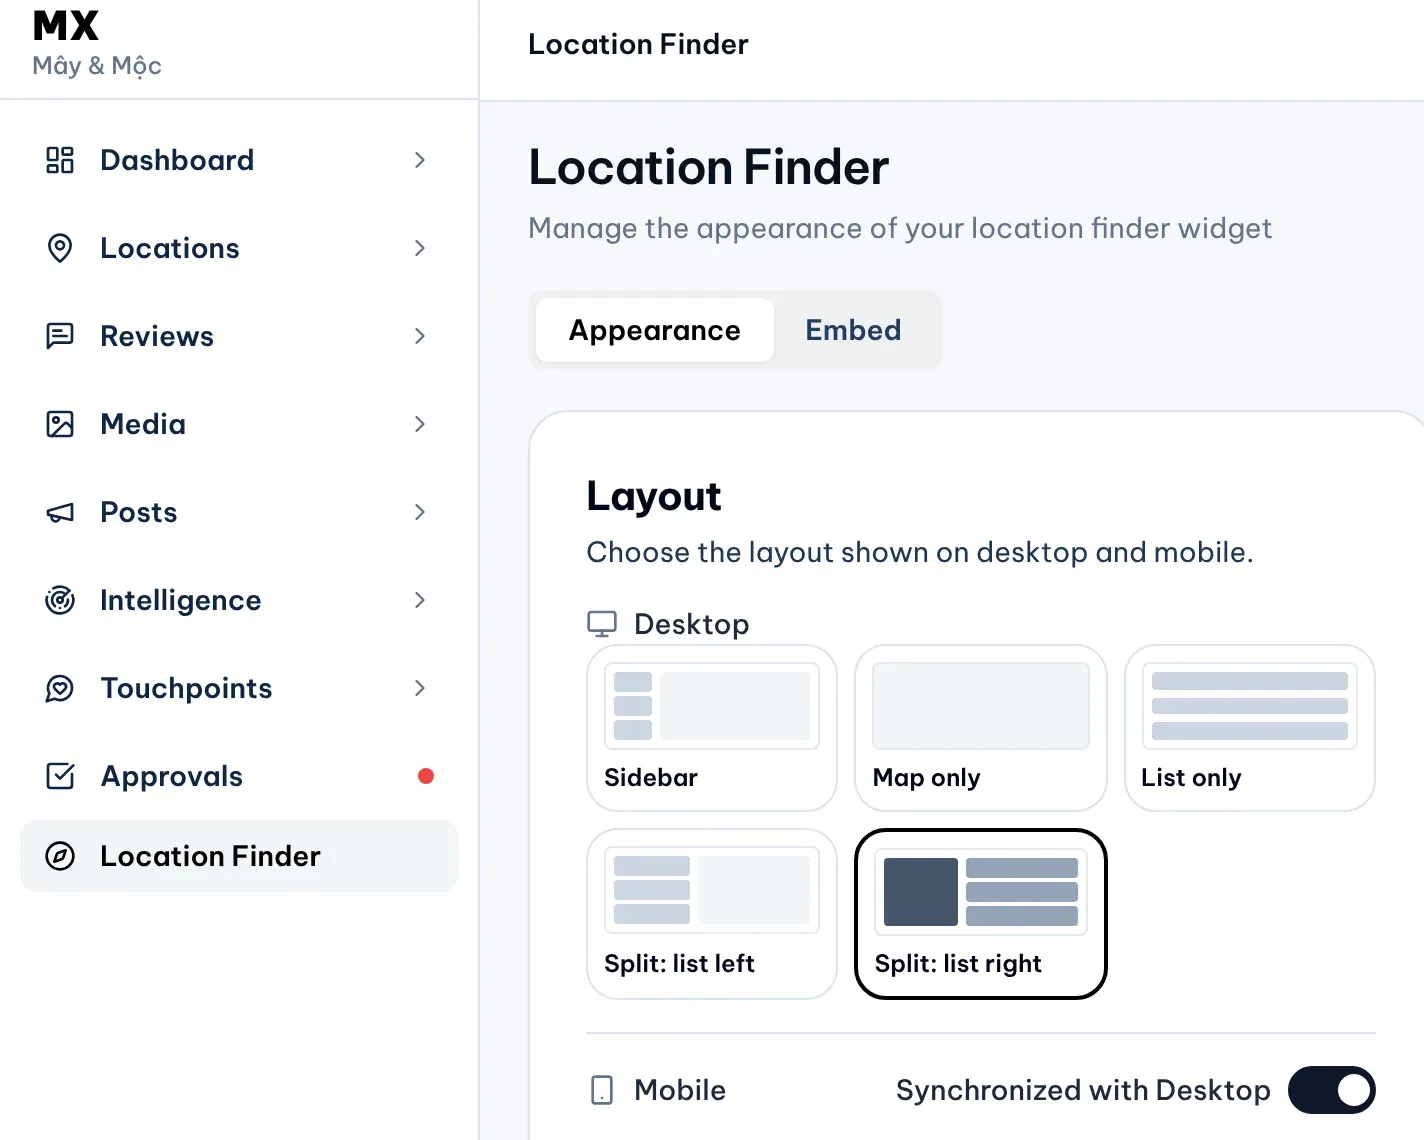
Select Location Finder in the sidebar, below Approvals. Each company has one Location Finder.
Design it
The Appearance tab has the settings on the left and a Live preview on the right, which you can switch between Desktop, Tablet and Mobile.
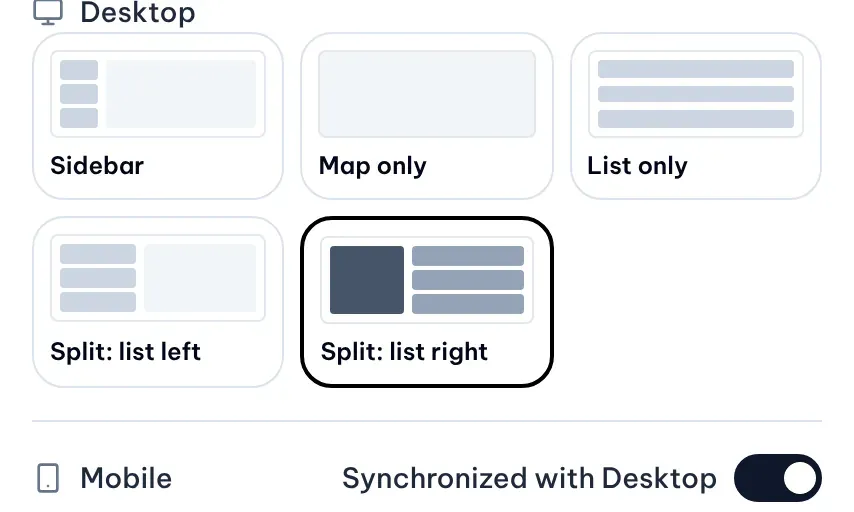
- Layout. Choose how the map and the list share the space on a computer: Sidebar, Map only, List only, Split: list left or Split: list right. Phones use the same layout while Synchronized with Desktop is on; turn it off to pick a different one for phones.
- Featured location. Open the finder focused on one location, such as your flagship store. Visitors can still browse every location.
- Theme and colors. Light, Dark or Auto to follow the visitor’s device, with a primary and an accent color.
- Map markers. Show a number or an icon on each marker, such as a store or a cafe. The same marker appears on the map and in the list.
- Font and corners. Pick the font used throughout the finder and how round cards and buttons are.
Until you select Save & Publish, the preview is only a draft and your website keeps the published look.
Put it on your website
On the Embed tab, copy the code MX writes for you: JavaScript, recommended works on most websites, and iframe, fallback is for website builders that don’t allow scripts. Both show the same finder. In WordPress, add a Custom HTML block where the finder should appear and paste the code; on a plain HTML page, paste it where the finder belongs. Published preview shows the finder as it is published now.
What visitors can do
Visitors search by name, address, city or district, pick a region, and can show only the locations that are open now. Each location has buttons to call, open its website, get directions and open it on Google Maps, when the location has that information.
Look after the public token
The embed code carries your finder’s public token, which tells MX which company’s locations to show. The token only lets the finder read the public details of your active locations. Anyone who looks at the embed code can see it, so it is not a secret.
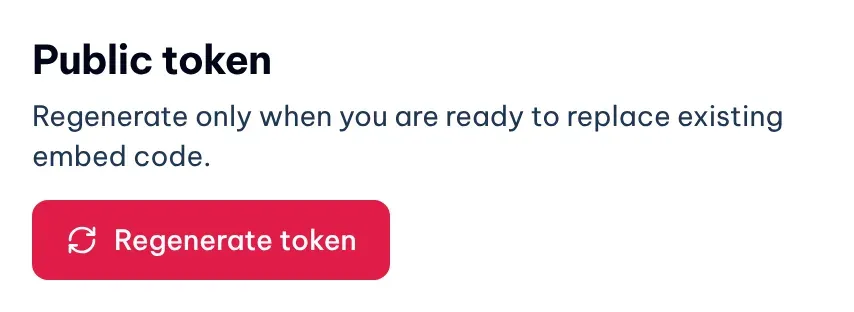
Regenerating the token invalidates existing embed code. Under Public token on the Embed tab, Regenerate token replaces it, and every page that still has the old code stops showing your locations. Copy the new code and paste it into every website that should keep the finder. For up to 30 seconds afterwards, a cached copy may still show your locations on the old pages.
Who can use it
Location Finder is on every plan. Only owners and admins see it in the sidebar, design it, publish it and copy the embed code. Whoever manages your website needs only the code.
Current limits
- One Location Finder per company. You can’t run several finders with different designs.
- The finder shows every active location in MX. You can feature one location, but not choose a subset.
- There is no category filter for visitors.
- There is no WordPress or other CMS plugin; you paste the code into the page.
Good to know
- Map pins. When Google’s own data has no Google Maps Place ID for a location, or the wrong one, an owner or admin can confirm the Place ID MX uses for its pin on the location’s page. This changes MX’s map data only; nothing is written to Google.
- For the step-by-step help, see Design your Location Finder and Add the Location Finder to your website. See also the Location Finder product page.
Further reading
- Knowledge baseDesign your Location Finder
- Knowledge baseAdd the Location Finder to your website