
You add the Location Finder to a web page by pasting a short piece of code that MX writes for you. The code carries your finder’s public token, which tells MX which company’s locations to show. The token only lets the finder read the public details of your active locations. It is visible to anyone who looks at the embed code, so it is not a secret.
Only Owners and Admins can open Location Finder.
Copy the code
-
Select Location Finder in the sidebar and open the Embed tab. If MX asks you to publish first, select Save & Publish on the Appearance tab, then come back.
-
Under Install Location Finder, choose the code to use:
- JavaScript, recommended: works on most websites.
- iframe, fallback: for website builders that don’t allow scripts.
-
Select Copy code next to it. MX says Copied to clipboard.
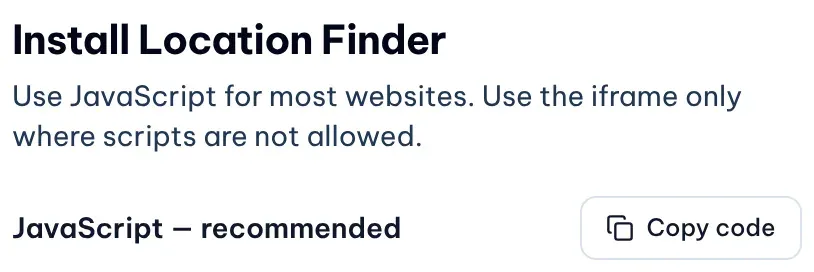
1: Copy codeIllustrative data
On the right, Published preview shows the finder as it is published now, not the draft you may be editing.
Paste it into your website
- WordPress: add a Custom HTML block where the finder should appear, then paste the code.
- Plain HTML: paste the JavaScript code where the finder should appear in the page, or use the iframe code where scripts are blocked.
Both codes show the same finder. Whoever manages your website can paste it for you; they need only the code, not an MX account.
Replace the public token
Regenerate the token to invalidate existing embed code. You’ll need to replace the code on every website you want to keep using.

- On the Embed tab, select Regenerate token under Public token.
- Read the warning and select Regenerate token to confirm.
- Copy the new code and paste it into every page that should keep showing the finder.